Flint, Steel and … Bacon? How to start a primitive campfire.
I headed to the woods recently for a bit of campfire therapy. My plan was to hike around for a bit in the Bald Eagle State Forest, just off the I-80 Frontier of the Pennsylvania Wilds. After finding a nice spot, I would make a campfire, cook the package of bacon I brought along, and then eat it….of course. Hanging out in the solitude of the forest eating a bacon sandwich, or two, is one of the best things.
After hiking around for a while, I found a nice spot to settle in for the morning. Now, I always carry a Bic lighter or two or three with me when I’m out, but I can’t remember the last time I actually used one to start a fire. I always like to practice old skills and try out new methods when I can. That day, since it was cloudy and I couldn’t do my favorite thing, light a solar fire, I decided on flint and steel.
After looking around for a minute, I started to feel both excitement about the possibilities and regret. I didn’t see anything stand out as tinder bundle material; that was the regret part. The ground was covered with a few inches of crusty snow, so I could pick nothing off the ground. By the looks of the mountain top, it had been timbered some time in the past, and I couldn’t find any of my old inner bark favorites like tulip poplar or basswood. The excitement came when I realized I would be forced out of my comfort zone and would need to find other stuff to use. I always teach my students not to get hung up on specifics. I could have spent the entire day hiking all over the mountain top trying to find some inner bark. What I really needed to know was what I was trying to accomplish, and that was finding small, dry material that would grow an ember into a flame.
I already had a hunk of dead black birch bark I’d found walking in. Birch bark is a great fire-starting material, but the older it gets the harder it is to get started. The small, fine curls were all gone, and I was left with the hard-to-peel pieces. My main purpose in grabbing it was to lay it down to keep my tinder off the snow. Now I had to peel some layers off to add to a hodgepodge tinder bundle. There was some wild grape vine, which usually has nice dry bark, but it also crumbles to dust when you try to break it down.
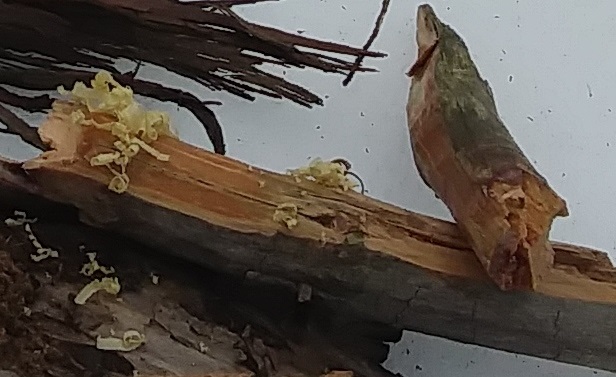
And then I found what turned out to be the key ingredient, fatwood! If you don’t know what fatwood is, it is found in dead pine trees, and it is where the resin settles in the wood. The best places to find it are where the branches meet the trunk and in the roots. It has a very strong, distinct smell, can be sticky, and has a translucent amber color. Fatwood is an amazing fire starter; the resin is highly flammable and scrapes down easily.
Striking a piece of flint (or other stone harder than the steel) against a piece of steel, or vice versa, creates a tiny shaving from the steel that heats up as it oxidizes. While these sparks are hot, they are also small and don’t last long. You need something to “catch” the spark. Charred natural material is one thing that will catch a spark from flint and steel. You make the char by “cooking” an all-natural material like a piece of cotton jeans or shirt in a closed container in the fire. You can also use things found directly in nature like punk wood (lightweight, dead, rotting wood) or the brown flower pod of a cattail. The only thing I have found that will catch a spark without being charred is chaga. Chaga is a fungus that grows primarily on living birch trees.
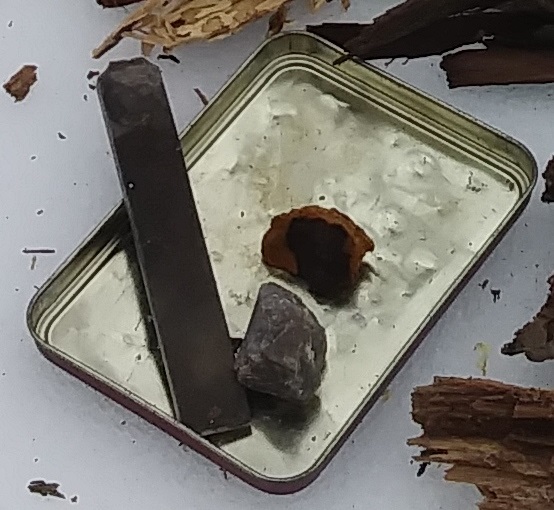
After collecting my tinder materials, I opened my fire kit to discover another little setback, my failure to restock my firebox! There was not a piece of charred anything in sight, and my flint was looking pretty ragged too! For the flint or other hard stone to be most effective, it has to have a sharp edge. This means from time to time you’ll need to flake a piece off to get back to a nice slicing edge. My flint had seen better days and was getting kind of small to be striking with.
Luckily I did have a piece of chaga in the kit, and the flint had a semi-sharp edge to begin with. I like getting an ember on a piece of Chaga; it burns longer and is harder to put out. That being said, it can also be a little finicky catching that spark. And that is exactly what happened next.
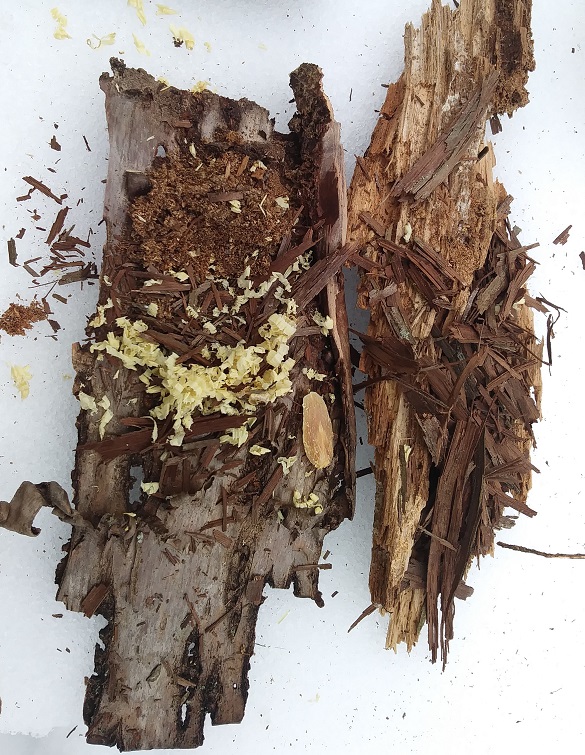
I started out laying the chaga on the lid of my fire kit on the ground and striking down onto it. It was kind of an awkward position, especially since I was trying to keep my knees dry and not end up face down in the snow. After about 10 minutes or so of showering the piece of chaga with sparks and knocking a few flakes off the already smallish flint, I knew I had to do something different. I looked around, and, as luck would have it, nearby there was a broken sapling that was about waist high. That gave me a place to lay the chaga and get into a little better position to strike into it. Another 5 minutes of sparks and, voila, an ember! My excitement didn’t last long, and neither did the ember. That’s the thing about a tiny little ember; it either takes or it goes out quickly.
I spent another few minutes striking sparks onto the chaga before the piece of flint needed a refresh again. It was getting hard to hold the flint to strike, and it was getting really hard to hold it to flake a piece off. While I was working on situating the flint, I noticed a little wisp of smoke out of the corner of my eye. One of the sparks from before must have taken hold on the chaga and was growing into a full-fledged ember! It was a great feeling after all that work! The hard part was still ahead of me though — getting this ember into a flame!
I placed the chaga in the center of my mishmash tinder bundle and started to slowly add some air.
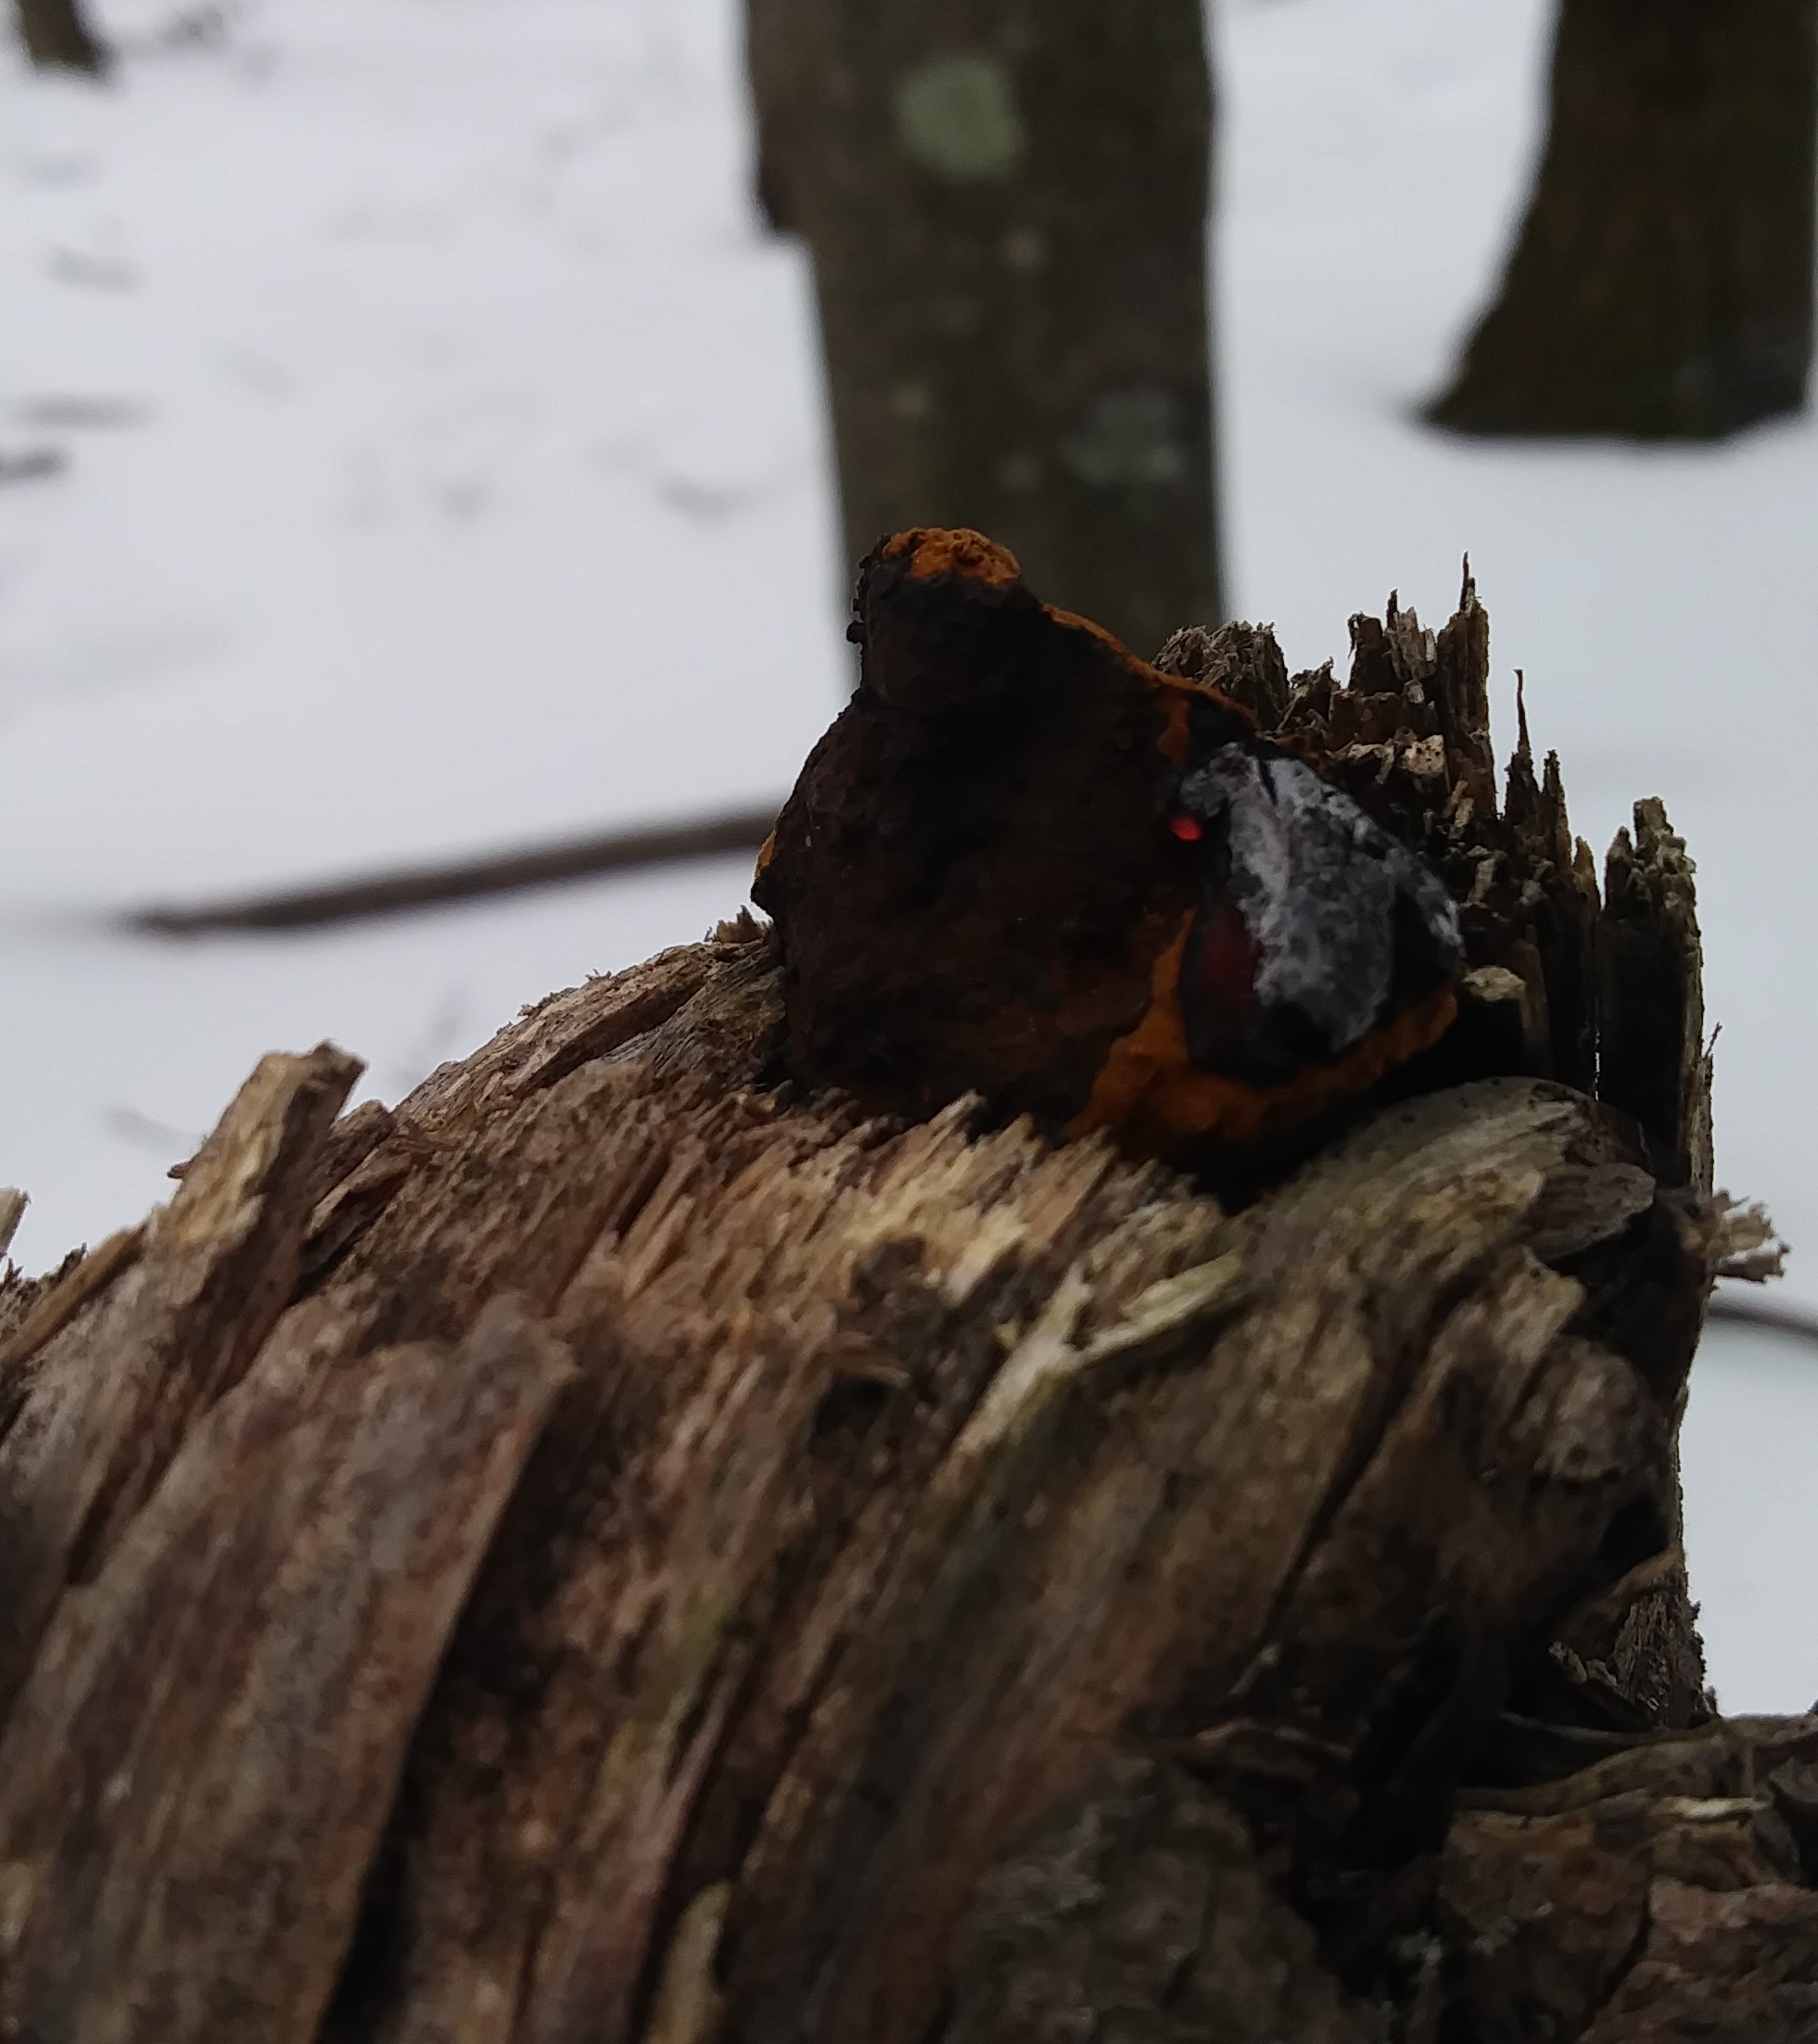
Fire needs three things to burn: heat, fuel, and oxygen. If I didn’t add enough oxygen, the ember would go out, and I would have to start over with the flint and steel. If I blew too hard into the bundle, all the material would go flying, and I would be very badly off at that point. My chaga would surely burn up before I could collect materials to make another tinder bundle, and that was the only piece I had.
It took lots of oxygen and constantly moving the pieces of the tinder bundle back onto the ember to slowly grow this ember. If you have never blown an ember to flame, you don’t know what you are missing. You have this small, fragile thing that you patiently nurture and carefully blow on until that moment when you start to hear a crackle. Then BAM! Your first flame shoots up! That ember was a little more stubborn than most, but the fatwood shavings were the key. The shavings on the chaga ember were what gave me my first wisp of smoke and then the flame that would save the day! I mean, how could I go home now without my delicious bacon reward!
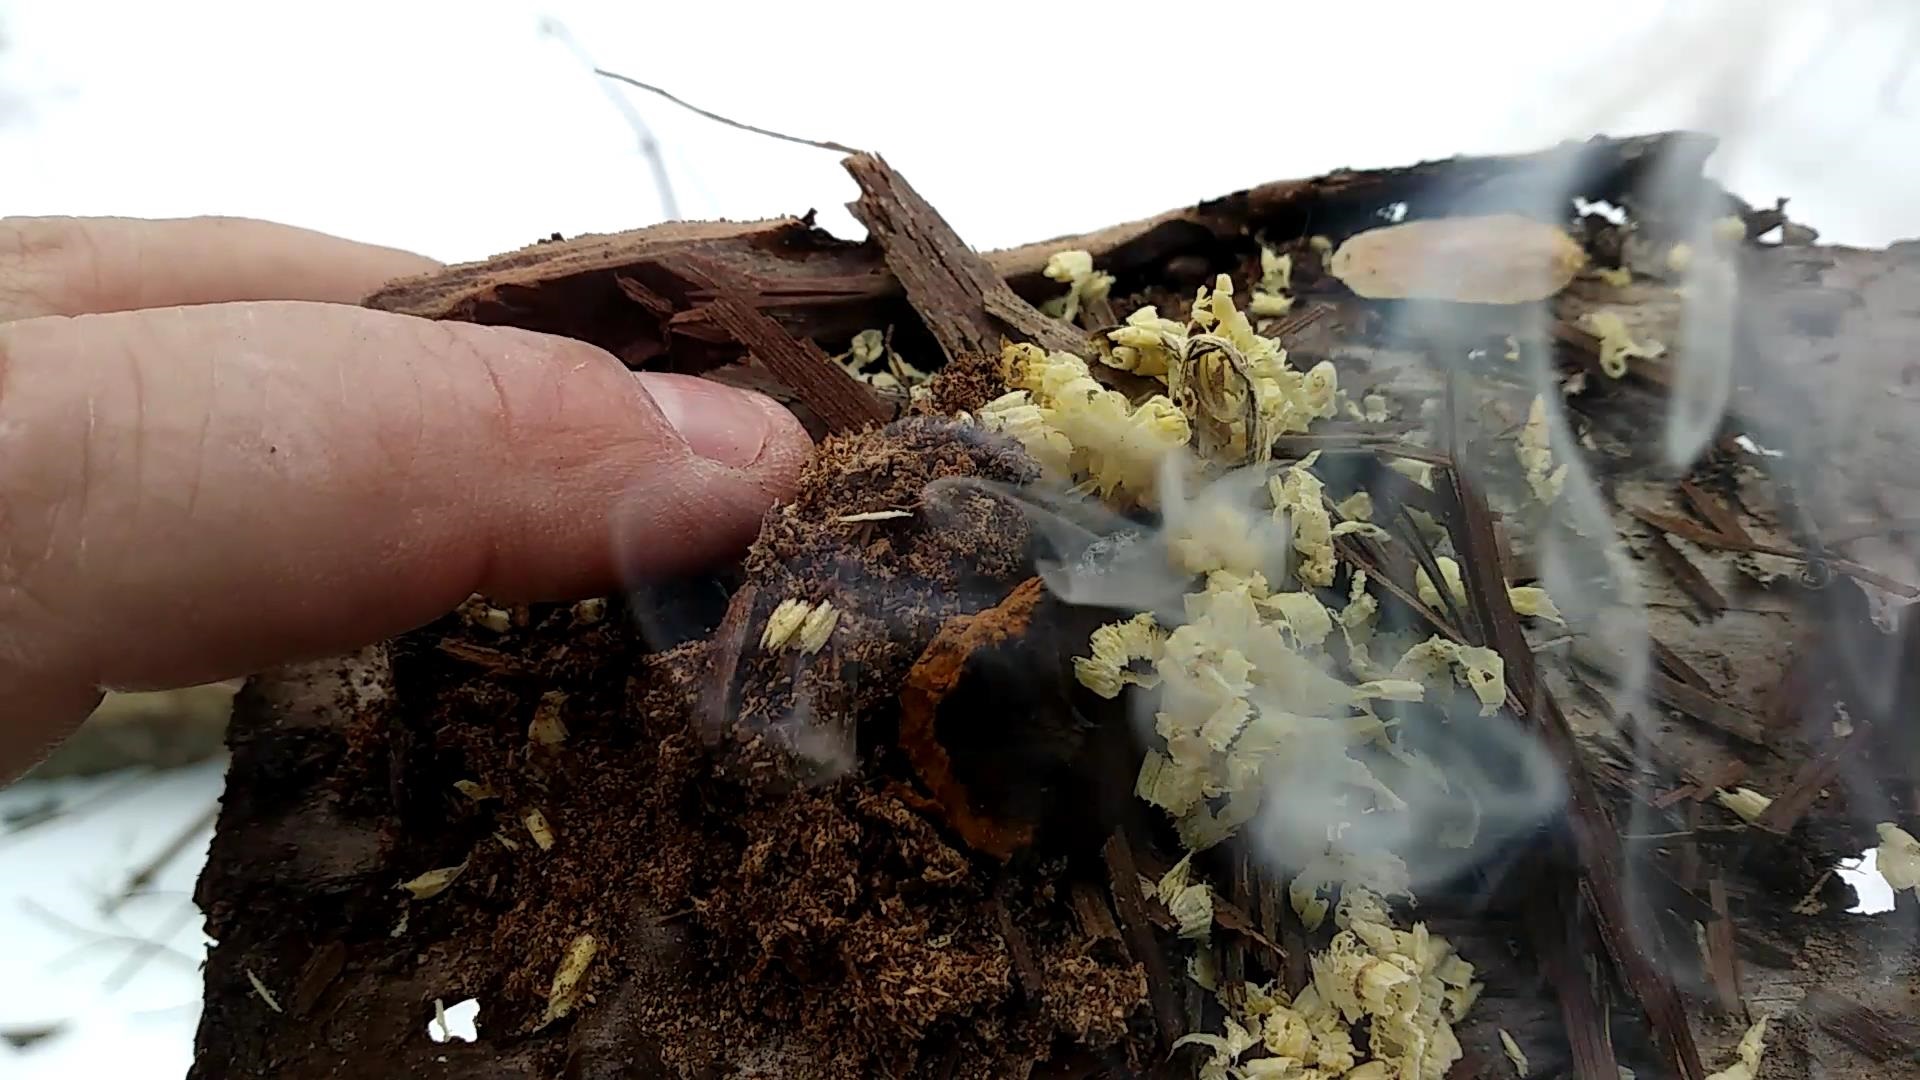
It wasn’t over yet though. I placed the birch bark platform with the smoking and burning tinder on the ground and slowly started adding the kindling and more air. Now, that is where I’ve found most people lose their fire. That first flame you have is NOT a fire. It still needs time to grow, and you need to stay with it and help it grow. Kindling is what you call the fuel wood you add to grow your fire. At first it needs to be small and dry, no bigger around than a pencil. Don’t add too much, or you will smother the flame, and it will go out.
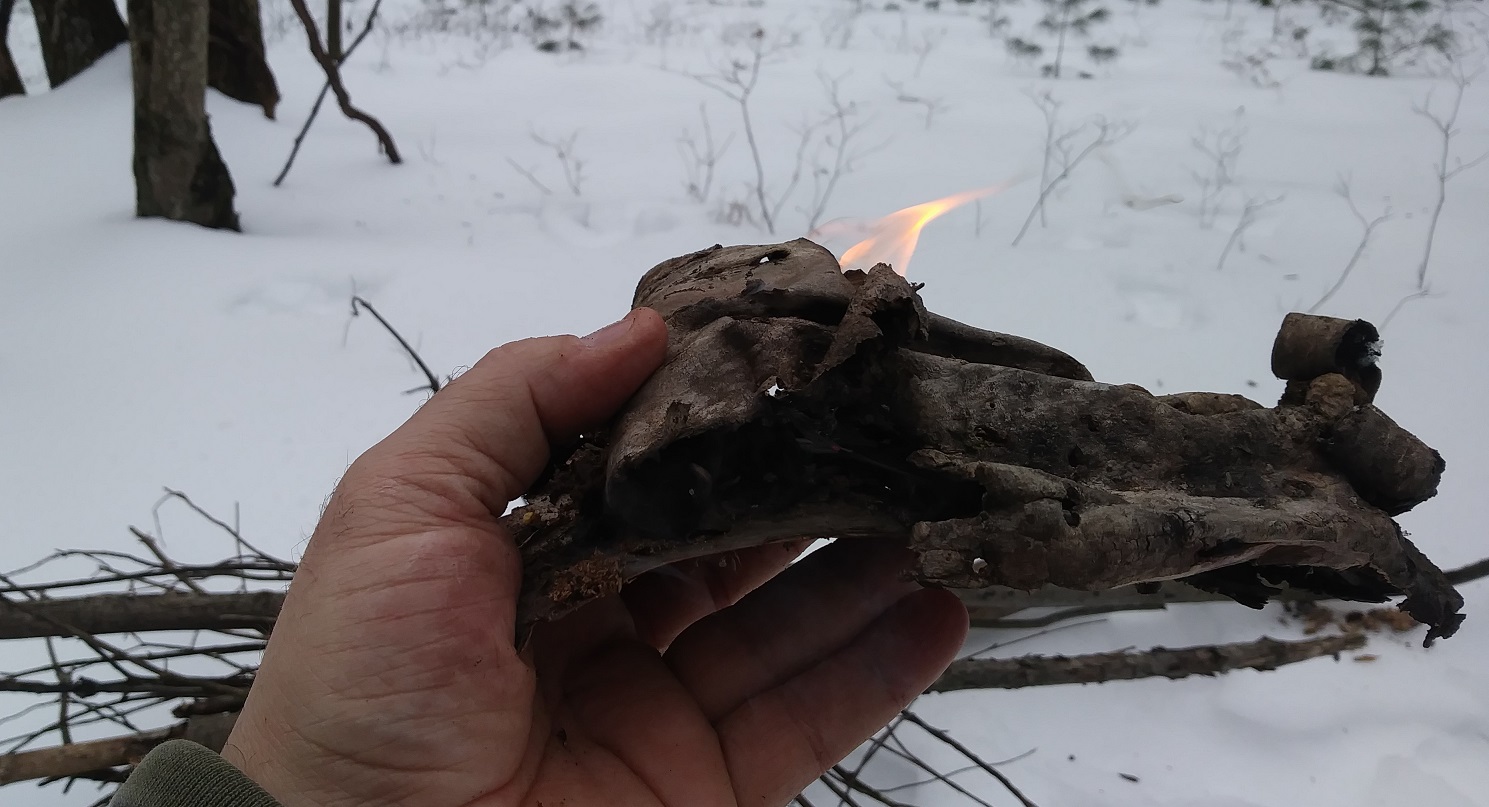
After you start to get flames climbing higher than the small kindling, you can start adding bigger pieces. Think of the first sticks you add as #1’s and 2’s, next you move up to 3’s and 4’s and so on. You don’t want to go from #1’s to #100’s! That’s where you will lose the flame and the campfire. One misconception of campfire fueling is that wet or green wood won’t burn. It will burn, but first you have to remove the moisture. That’s why you need dry kindling to start. If your flame has to dry the wood out first, it will take up all the heat. Remember, your fire needs three things, and one of them is heat. Once the fire is going strong, you can lay wet or damp wood around the edges of it and let the fire dry them out. It’s best to use standing dead wood, but that isn’t always what you find out there.
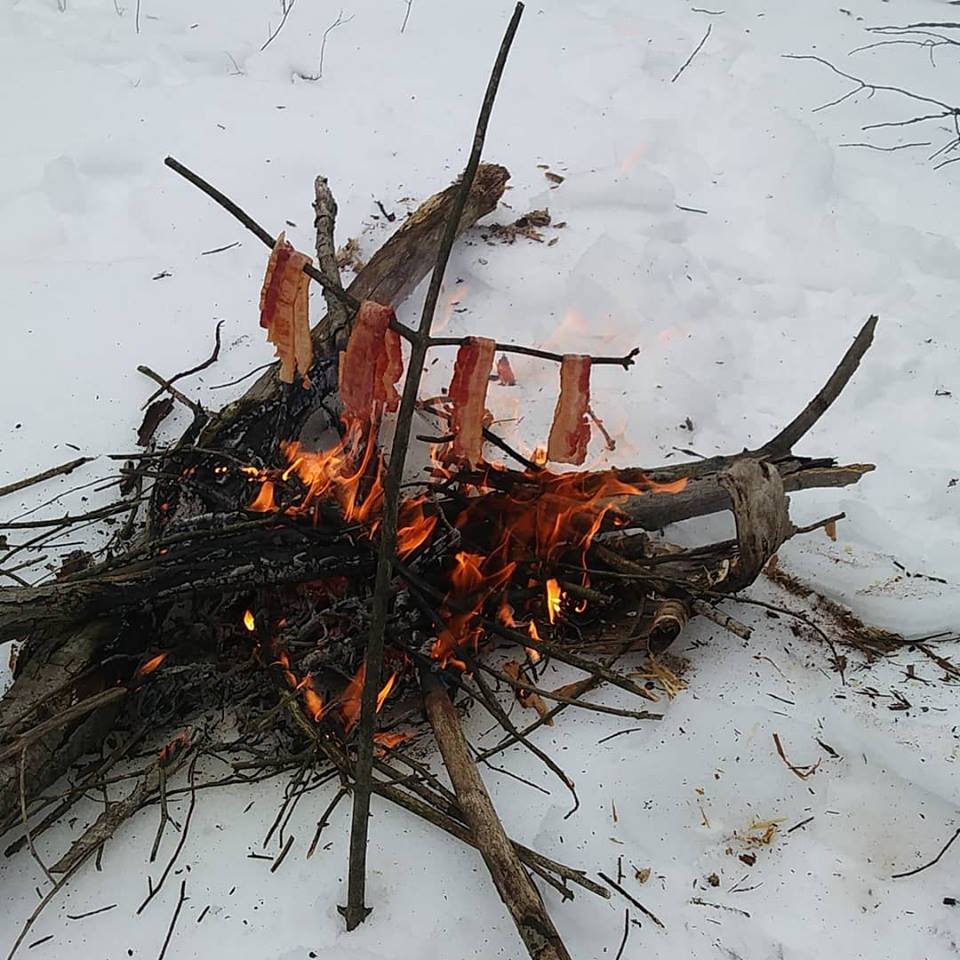
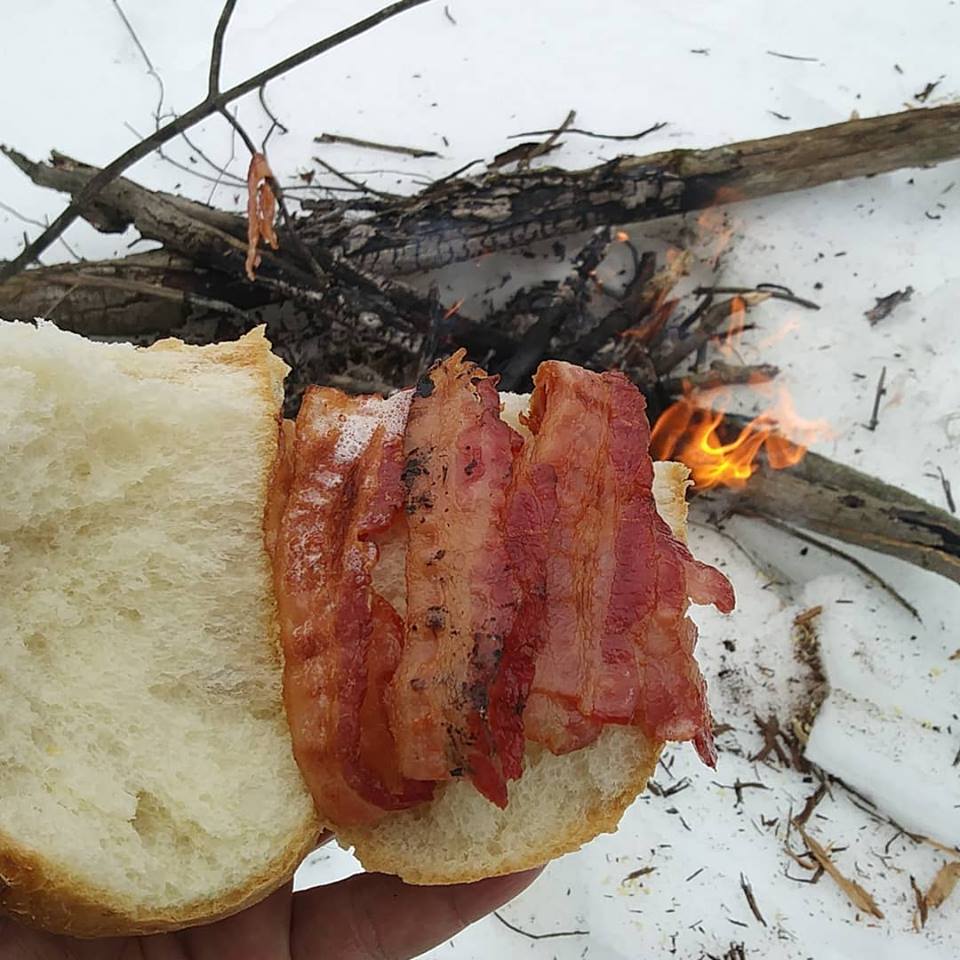
Once the campfire is burning strong, it’s time to reward yourself with a nice bacon tree. Drape the slices of bacon over the limbs of a stick, green if possible so it doesn’t catch fire. Cook it to your preferred doneness, and enjoy the fruits, or in this case meats, of your labor, a nice big bacon sandwich and a warm and comforting campfire to eat it around!
If you’d like to learn more about how to make a flint and steel fire, along with a ton of other outdoor/survival skills, check out an event we are holding this April right here in the PA Wilds! Training events offered by WITS Outdoors feature a group of instructors from different areas of expertise and backgrounds teaching wilderness/survival skills in a friendly, relaxed atmosphere.
